Well, it’s been a long time in the making, but the new version of MayaCGF (the Maya exporter for Crysis), is finally ready for open beta testing. And as you guessed from the title of this post, it features preliminary support for animated characters. You can find all the technical information here.
Here is a video preview of the workflow to export an animated model. Enjoy!
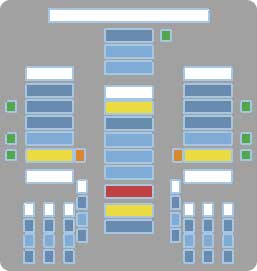
The GUI (for Graphical User Interface) is a very useful tool to select a character’s controls without having to click directly on the body parts (which sometimes is impractical). Here I’ll show you how to build a GUI in an easy and intuitive way. No more coding long lines of widget in Python or MEL. Starting from this template you can quickly build your own custom GUI interactively by clicking on objects and moving them around. It’s very flexible, since you can click-and-drag to multi-select, and use CTRL-click or SHIFT-click to deselect. It uses a couple of scripts by the brilliant Hamish McKenzie (also known on the internets as MacaroniKazoo). Instructions and file are here.
Update: If you downloaded the ZooToolBox and seithGUI.zip before 9/19/09, then please re-download them both to fix the problems about “missing statements” and “No module named vMaya.triggered” errors…
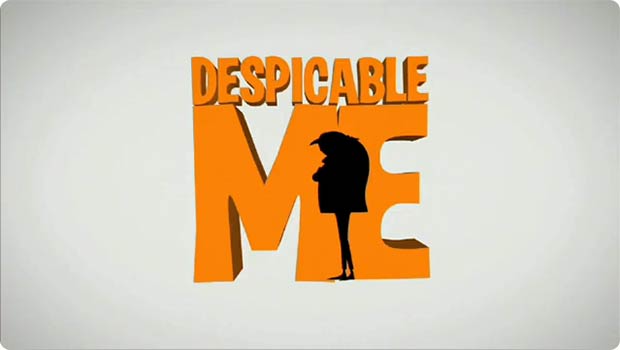
For those of you who might be interested, the official HD trailer for “Despicable Me” (the movie I’m working on at the moment) has been released. I know I’ve tried to keep this site focused on my own personal work, but I thought “Oh well… what the heck”. Obviously, a big kudos to the crew at MacGuff; the guys are doing an excellent job! Here’s the YouTube link…
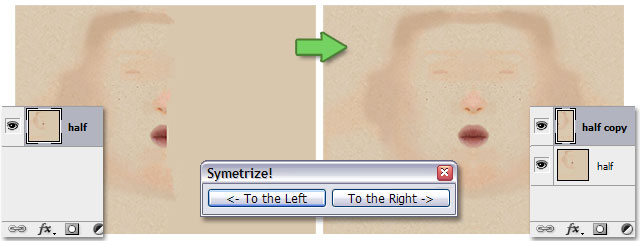
Here is seithSymetrize, a Photoshop script I wrote to facilitate the mirroring of a texture. Let’s say you’ve worked on one side of a texture and you want to mirror it across the vertical axis. You would normally have to first select precisely half of the layer, then copy and paste your selection and finally manually transform it (scale it, in fact) to the left or the right, depending on your needs. That can become tedious if you have to do this very often over a short period of time. So this script automatizes the whole process in one click. Enjoy!
(Instructions to install the script are on the Photoshop scripts page)
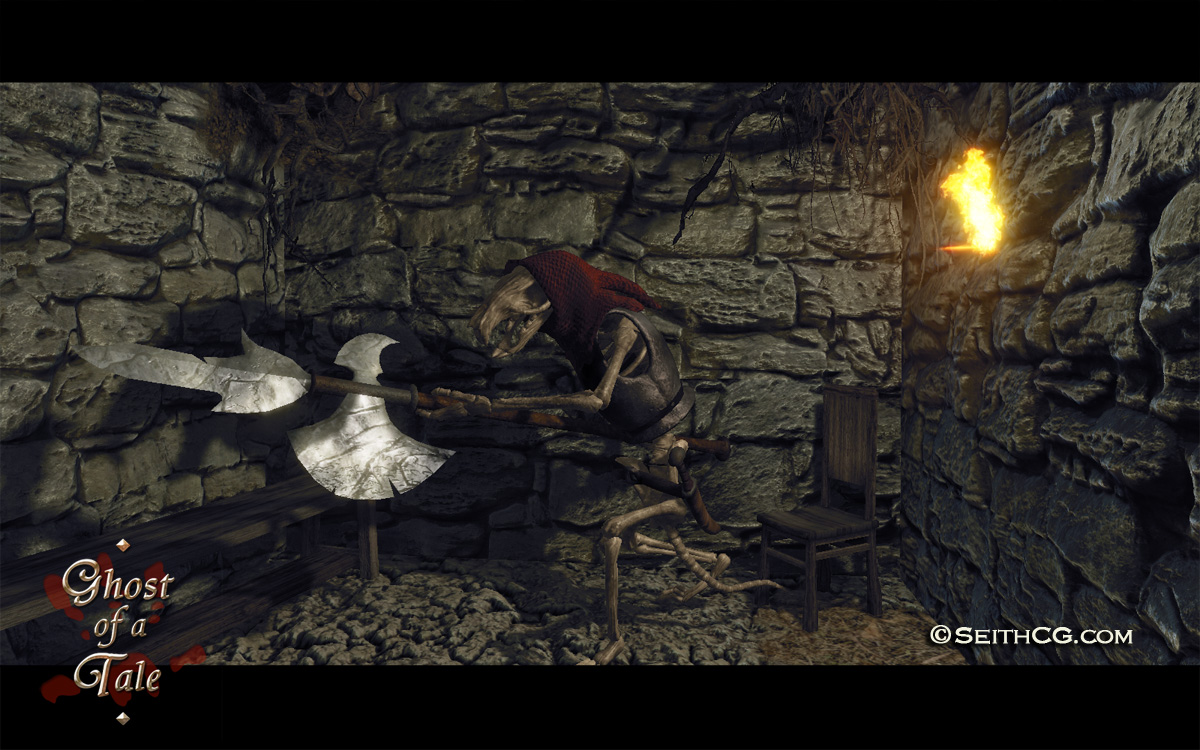
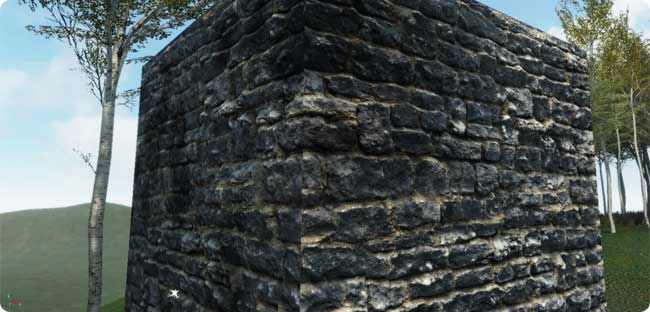
Over the weekend I worked a bit on my Crysis mod “Ghost of a Tale”. I’ve been mostly creating textures and materials, and I feel I’m barely starting to get the hang of it. This is all very temporary but I’m having fun! Anyway, here’s a screenshot to give you an idea of the progress (with a torch flame hovering in mid-air!)…
Here’s a little tutorial about creating a texture with parallax mapping for the Crysis engine. This is the effect that makes the textures feel like they’re in relief and you could almost touch them! I first saw that effect in “The Elders Scrolls: Oblivion” and was blown away by the level of realism it does add to what are essentially flat polygons. So enjoy!
It took me a long time as I had to learn much about the whole process. I was already familiar with animation of course, and I knew a bit about modeling and rigging, but I had to work hard to learn about surfacing, lighting and compositing. Well, at least the basics so I could develop a mini-pipeline to take the shots from 2d drawings to 3d animatic to final compositing without too much hassle. And boy was that hard! But it is definitely rewarding to see the scenes and characters coming to “life” which were for almost two years simple figments of my imagination…
The teaser is very short and the music is only a temp track. The real soundtrack you’ll hear in the movie is a beautiful choral piece composed by the very talented Thomas Hjort Jensen.
(Also, at the end it says “2009”, but I’m afraid it’s only wishful thinking!)
In other unrelated big news, I’m happy to announce that I’ll be directing the animation of a movie being produced by Universal in a French studio called Mac Guff Line (located in Paris). So I’ll be moving back to France in the month of January. Exciting times!