Building a tree for the CryEngine2
1. Introduction:
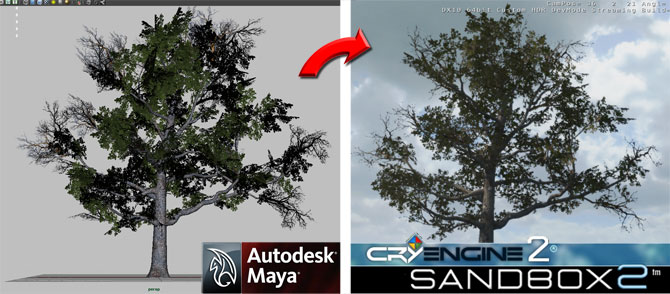
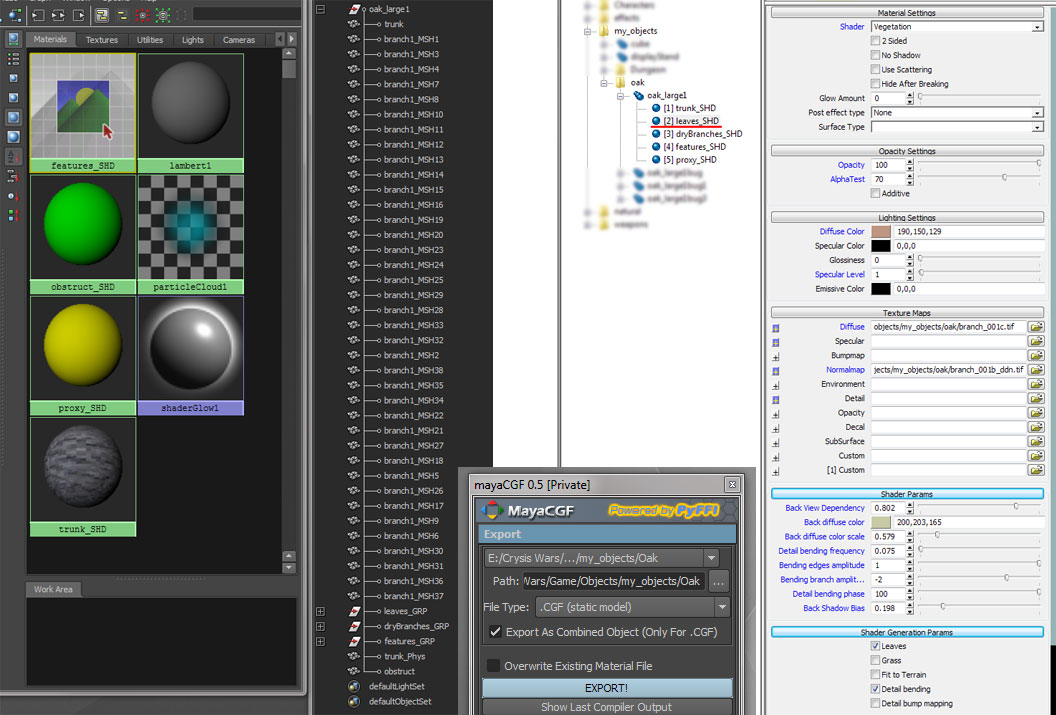
In this tutorial I’ll talk a little about the method I follow when building trees for Crysis (or rather the CryEngine 2), from modeling to texturing. I use Maya 2011 and the MayaCGF plugin I wrote to export my models to Sandbox2.
2. Structure:
First, make sure you have a goal to reach. By this I mean do some research before you tackle modeling a tree, or else it can become a grueling and unrewarding task. I know, I tried! Usually I place an image plane in the front view camera with a picture or drawing of the specific tree I have in mind. It helps me knowing where I’m going and judging when I’m getting near the finish line.

The model is roughly composed of the main trunk and branches (which are modeled as separate pieces) and the leaves and dry branches (which are simple textured polygons). The physics proxy is important if you don’t want to be able to walk right through your trees!
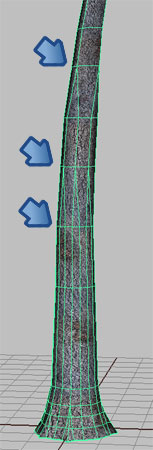
The trunk’s topology can be simplified the farther away it gets from the player.
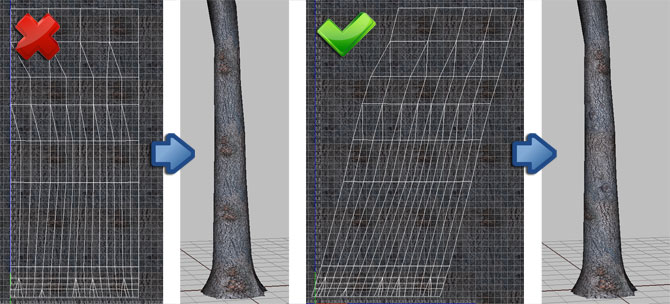
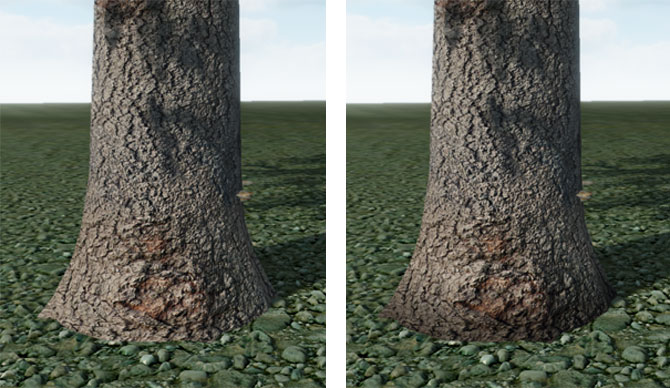
Also, note that a good trick to avoid easily spotting repeating details on your trunk texture is to to skew uniformly the UVs. As you can see, the repeating patterns on the image on the left are much more noticeable than the one on the right.
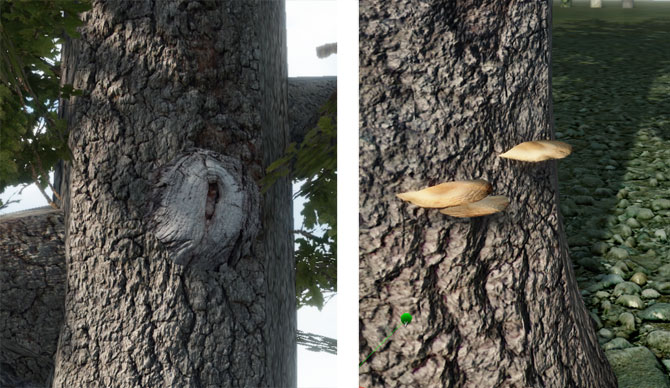
If there’s enough room on your leaves texture, it’s nice to include some smaller “features” like stumps or fungus, which you can then use to break monotony on your trunk.
3a. Textures:
In general, I tend to use 2k textures (meaning 2048*2048) unless the model’s really small. The bark texture for the trunk is 1024*2048, which works well as it’s a cylindrical object. Not featured in the below picture is the normal map for the trunk.

So we have the trunk diffuse map (1), then the leaves and features diffuse map (2 and 2bis), the alpha map stored in the alpha channel of the diffuse map (3) and finally the normal map, which can also include displacement data in the alpha channel (4). I use CrazyBump for all my normal mapping needs as it’s a great and simple tool to use. I almost forgot the specular map (5) and also the opacity map (6).
NOTE: The (2bis) picture illustrates the “masking concept”. Basically when you play with the alphaTest slider of the material in Sandbox2, the direct surroundings of your alpha-mapped texture can bleed into the edges of the leaves. So by selecting the leaves and growing the selection by 2 or 3 pixels you can create a dark mask level just under the main one to “fatten” the silhouette.
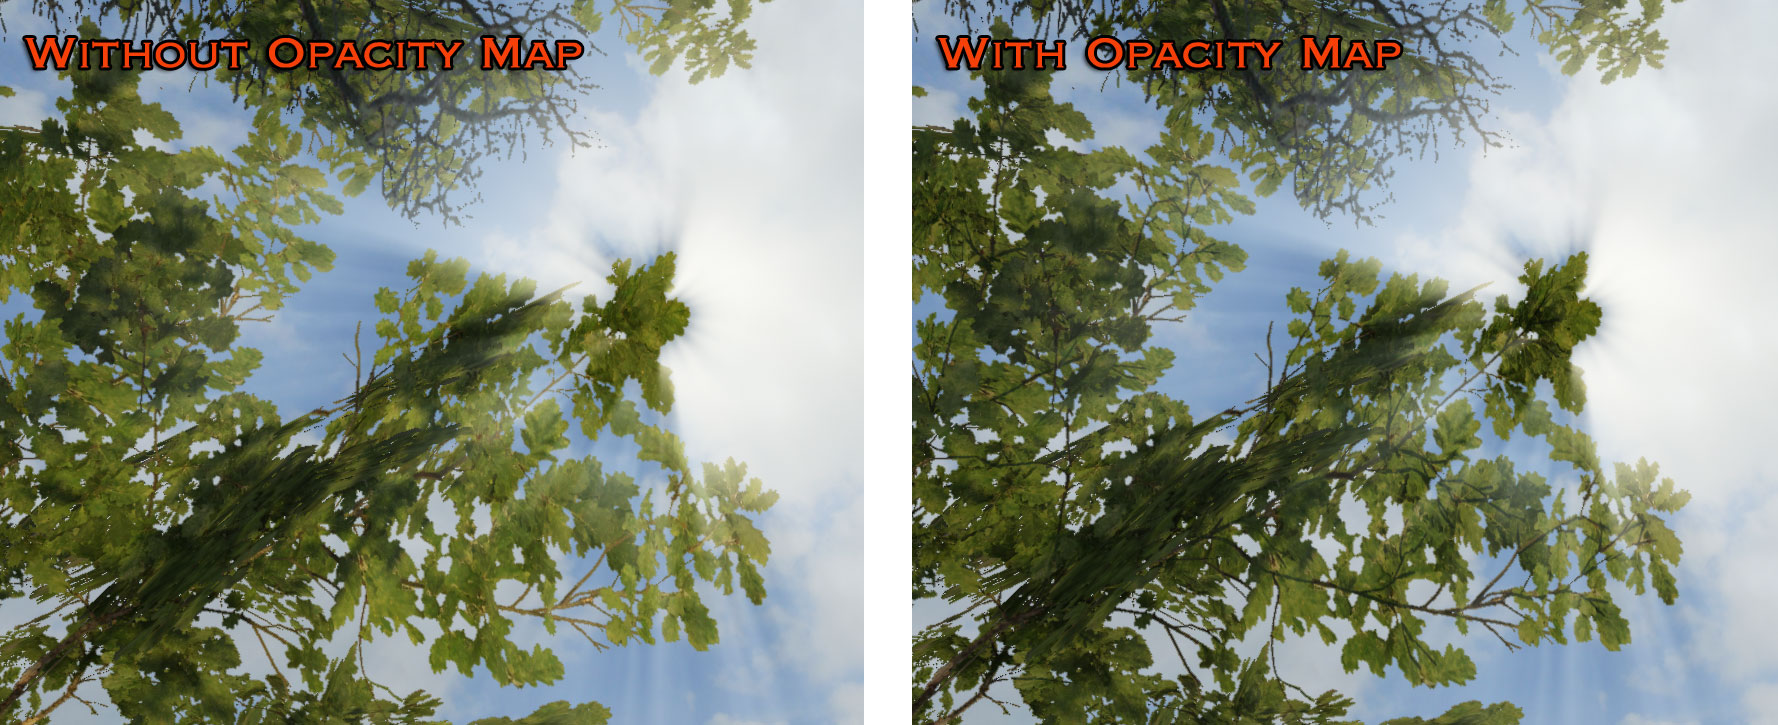
Here is an example of the leaves being strongly back-lit by the sun; you can see that with the opacity map the structure of the branch actually blocks out the light, only letting it through the thinner parts of the leaves, whereas without it the overall branch looks uniformly bright.
3b. Vertex Color:
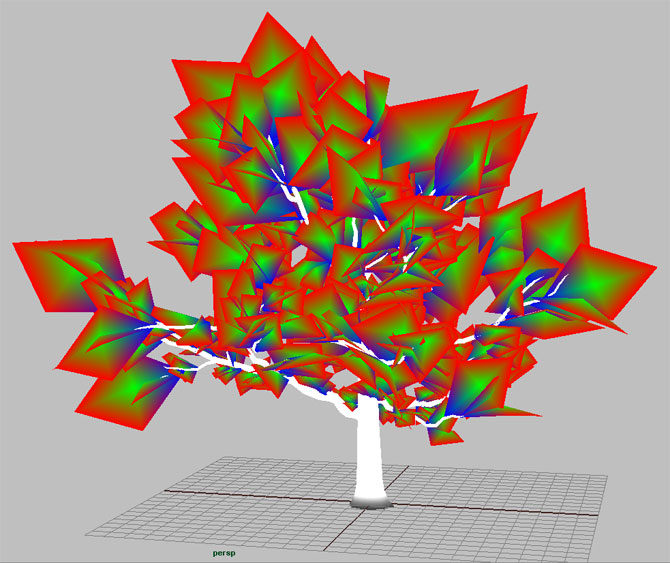
Vertex color is the way you tell the CryEngine2 how the leaves should bend in the wind (this is all procedural). Roughly, red is for the edges, green for the overall up/down effect and blue will keep the vertices still.

Vertex color is the way you tell the CryEngine2 how the leaves should bend in the wind (this is all procedural). Roughly, red is for the edges, green for the overall up/down effect and blue will keep the vertices still.
Don’t forget that as you export your CGF file with the “Combined Object” option (mandatory for trees and bushes), you have to make sure each mesh has proper vertex color assigned to it. By default, Maya sets vertex color to black. So you should make sure you select all the meshes making up the tree model (besides the leaves which have specific colors, as mentioned earlier), show the vertex color and flood white on everything. If you don’t do that, some parts of the tree will turn up pitch black!
Below is an example showing how a darker color on the trunk’s bottom vertices can help to integrate it better with the soil. (Of course it would be best to use grass and smart textures on the ground too!)
4. Physics:
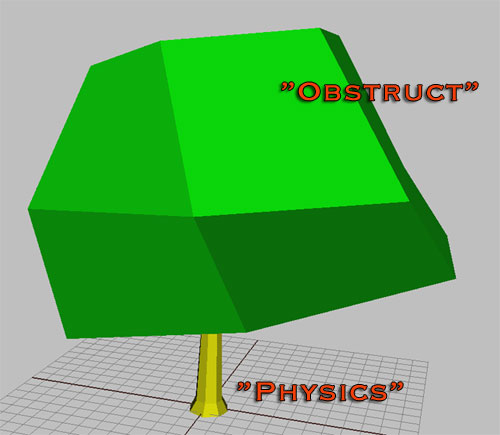
Here you can see two different types of shaders. The yellow one is the “solid” one (cryShading set to “Physics”). The green one is set to “Obstruct”; it means it’s not a physical proxy but just one that the AI won’t be able to see through. The simpler the mesh the better of course.
5. Exporting:
Use the “Combined” option in MayaCGF when you export your tree model. If not, the physics settings won’t be applied to the vegetation instances (although it’ll still be applied to the brush itself).
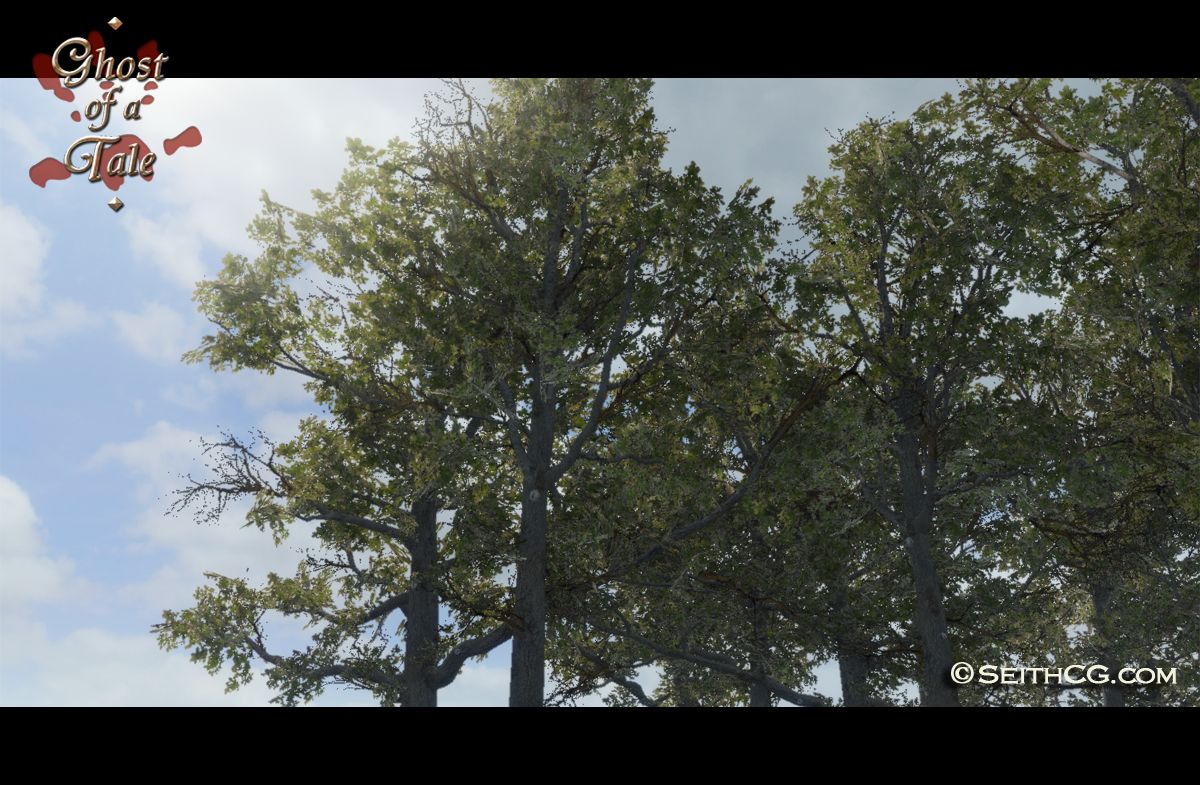
And voila, you’ve got a forest! 
Thank you so much for sharing this.
This is very informative.
The tree look really stunning.
Will this work on ce3?
Yes, I think it should.
I’m curious about the leaves.
Is there only 1 empty and 1 branch full of leaves in the whole thing?
If so, how do you get variations?
Are they placed procedurally?
Your work is great. Thanks for the tutorial.
Yes Mitch, there is a dry branch and a leafed one on the same texture. The variations come from the way the poly plane vertices are splayed. And those branches are all painfully placed by hand in Maya to get the most pleasing result when looking up from ground level. Not just from a bird’s eye view.