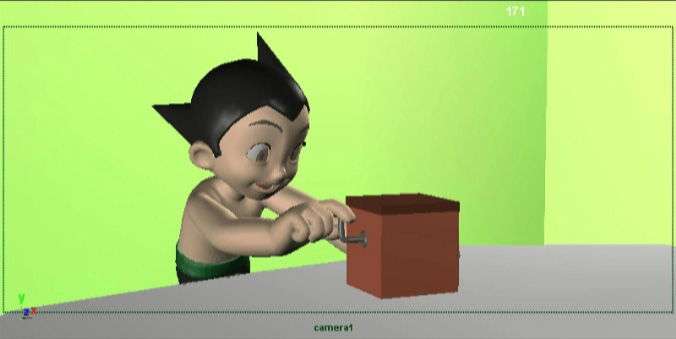
While digging on my hard drive I found an early development test for “Astroboy” (done quickly, mostly to try the arm rig). Now this particular test was done in pre-production and I haven’t seen the movie yet, but the model has obviously evolved; the proportions ended-up less child-like. Also, the hands don’t seem as huge anymore. I’ll try to post another test later on. By the way, the animation on the movie was directed by a friend of mine, Jakob Jensen. Anyway, enjoy!
I’ve just added a page about exporting static models from Maya to Crysis. The documentation page for animated models has also been updated. The MayaCGF beta keeps on evolving nicely, and now supports all the physics shaders from Crysis. There’s a bunch of new features and bug fixes too.
Every time you change a shader’s type in Maya’s attribute editor, Maya discards the name of your shader. So if you had a shader called “my_carefully_named_shader” that happened to be a Lambert, and you changed it to a Blinn, your shader would be automatically renamed “blinn1”. Great, no? No. So if like me you’re tired of Maya renaming your shaders when it shouldn’t, just go to C:\Program Files\Autodesk\Mayaxxxx\scripts\AETemplates and open AEshaderTypeNew.mel. In the last proc (called AEshaderTypeCB(…)) find this line (usually at the very bottom):
delete $shaderNode;
And add this line just after:
rename $replaceNode $shaderNode;
And Maya will keep the name of your existing shader! Yay!
Well, it’s been a long time in the making, but the new version of MayaCGF (the Maya exporter for Crysis), is finally ready for open beta testing. And as you guessed from the title of this post, it features preliminary support for animated characters. You can find all the technical information here.
Here is a video preview of the workflow to export an animated model. Enjoy!
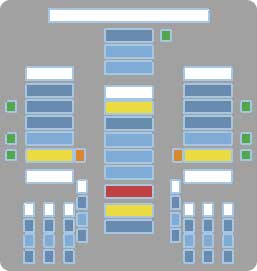
The GUI (for Graphical User Interface) is a very useful tool to select a character’s controls without having to click directly on the body parts (which sometimes is impractical). Here I’ll show you how to build a GUI in an easy and intuitive way. No more coding long lines of widget in Python or MEL. Starting from this template you can quickly build your own custom GUI interactively by clicking on objects and moving them around. It’s very flexible, since you can click-and-drag to multi-select, and use CTRL-click or SHIFT-click to deselect. It uses a couple of scripts by the brilliant Hamish McKenzie (also known on the internets as MacaroniKazoo). Instructions and file are here.
Update: If you downloaded the ZooToolBox and seithGUI.zip before 9/19/09, then please re-download them both to fix the problems about “missing statements” and “No module named vMaya.triggered” errors…
For those of you who might be interested, the official HD trailer for “Despicable Me” (the movie I’m working on at the moment) has been released. I know I’ve tried to keep this site focused on my own personal work, but I thought “Oh well… what the heck”. Obviously, a big kudos to the crew at MacGuff; the guys are doing an excellent job! Here’s the YouTube link…
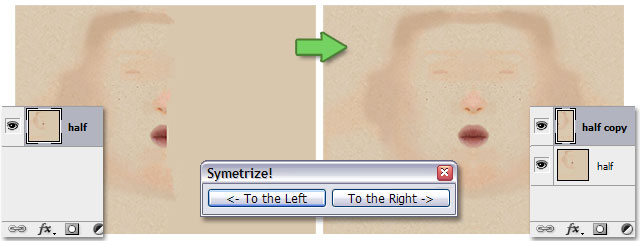
Here is seithSymetrize, a Photoshop script I wrote to facilitate the mirroring of a texture. Let’s say you’ve worked on one side of a texture and you want to mirror it across the vertical axis. You would normally have to first select precisely half of the layer, then copy and paste your selection and finally manually transform it (scale it, in fact) to the left or the right, depending on your needs. That can become tedious if you have to do this very often over a short period of time. So this script automatizes the whole process in one click. Enjoy!
(Instructions to install the script are on the Photoshop scripts page)